This article is also available in Korean
Disclaimer: Affiliate links are used in this blog post. Please see our Affiliate Links policy in our Terms & Conditions page for additional details.
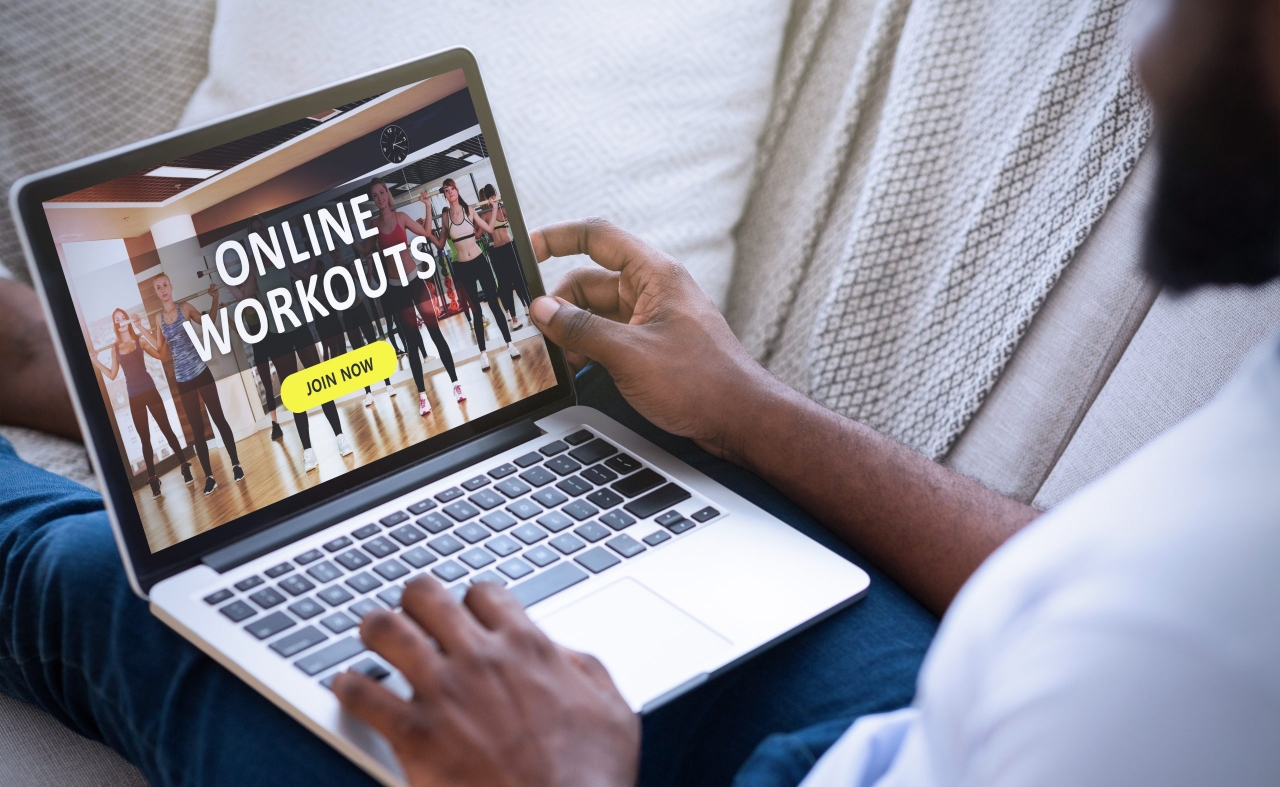
In our blog post, The Pros & Cons of Free vs. Paid Digital Content we highlight the importance content marketing and the specific content that can grow leads and have a tremendous impact on expanding your brand. When it comes to content, video is king. Video marketing will account for a staggering 82% of internet traffic by 2021. As a fitness professional, no doubt, you have already been massively affected by the coronavirus pandemic. In a move to survive the current situation, many personal trainers and fitness entrepreneurs have shifted to virtual training and online fitness classes. You still have the power to create community engagement and keep your audience motivated.
Technology has allowed businesses to not only survive but thrive. If you’re new to virtual fitness classes or looking to improve your current set-up, we break down the top tips and tricks for running virtual fitness classes. Whether you’re looking to go live stream classes or upload pre-recorded content, you need a good and reliable set up and a little bit of practice to iron out the kinks. Try to keep it simple and don’t overcomplicate things. Follow these top tips for running virtual fitness classes and get your clients coming back for more.
1. Technology Recommendations
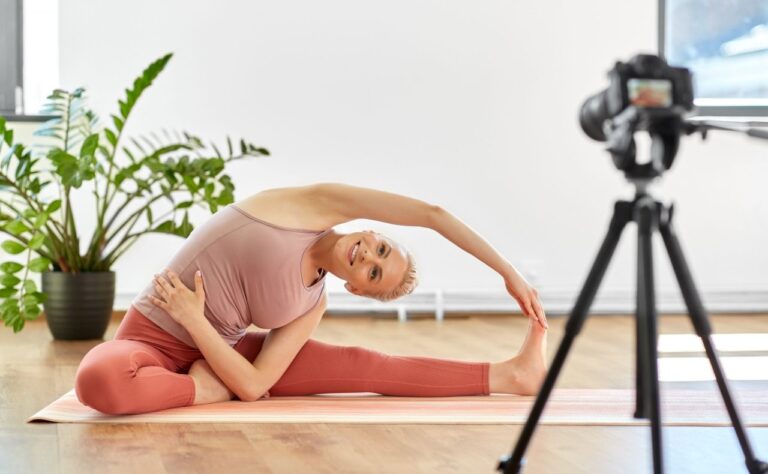
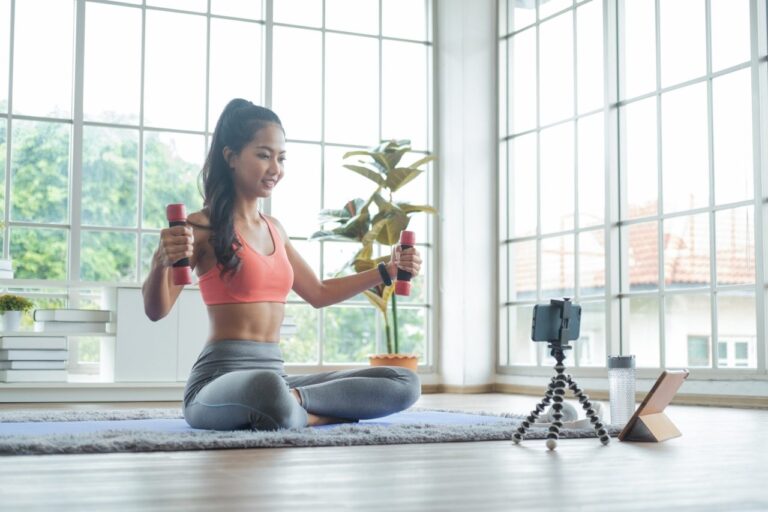
Technology is often one of the first hurdles when setting up for a digital fitness classes. There are a few things that will help give your fitness class a more polished look and make it easier for you in the long-term. First, determine your recording device. You can use either a professional video camera, smartphone or computer webcam. When it comes to your recording device, the most important thing is camera stability. Try to avoid any shaky footage. If you are using a professional camera or your smartphone, the best way to prevent shaky footage is with a tripod. For smartphone users, tripods are relatively inexpensive and are a good investment especially if you plan to increase your digital content offerings. For any recording device, ideally, the camera should be off the ground so that you’re not constantly looking at the floor. We’ll mention this a few times throughout this blog post but the best way to figure out an ideal setup for you is to test before you record.
If you’re looking to make a larger investment in your video equipment there are endless options at various prices ranges. Webcam lights, backgrounds & green screens, microphones the list goes on. Besides a tripod, one particular item you might be interested in purchasing is a microphone. Crisp sound in your videos is just as important as a crisp display. Depending on your set up, you may find that a microphone delivers better sound quality. If you’re filming in an empty studio space or home studio and perhaps wear a mic, experiment with the sound while shooting and test the acoustics by filming a dry run before you go live or record a full fitness video. Once you have figured out your set up, make sure you have a stable internet connection to deliver a good experience without lag or delay. If you can, try to make sure no one else is heavily using the internet at the same time.
2. Set Up Your Location
Your location is crucial. When you’re thinking about where to set up your digital studio, consider the following points:
- Plenty of natural light
- A clutter-free and simple backdrop
- Acoustics in the room
Sound quality can be hard to get right. If you’re getting a lot of echoes, try recording on two separate devices – one camera for the sound and the other for visual. You can also try adding soft materials like pillows, rugs or blankets into the room to help absorb the sound.
If you’re likely to be interrupted by children or family members, create a recording sign to keep others out why you’re filming. Another consideration is the music you might use. Some instructors send out a Spotify or Apple Music playlist to accompany the class that clients can play in their own house. This is a useful way to include music in the class without worrying about music rights.
3. Test Everything!
Before you dive in for your first set of live stream classes, test everything. We mentioned this already but seriously – Go through a complete dress rehearsal. Wear the right clothes, test your internet connection, and check the sound. You want everything to run smoothly on the day, so this is a good chance to iron out the kinks before your paying clients join you. Remember, if you are doing one-way video (which is generally how a live stream works) you are unlikely to get feedback that something is wrong right away. Test everything before and you’ll feel confident later.
4. Stick to Your Class Schedule
If you usually teach yoga in the morning and a HIIT class in the afternoon, it’s a good idea to stick to your fitness class schedule. It helps to give your clients a feeling of normalcy and routine which many people are craving right now. They see your face at their regular class slot, and it can feel comforting. Of course, add more fitness classes to your schedule as the demand increases. Not all of your clients will be able to make every class. Create a repository of fitness VOD (video on demand) content and upload any recorded fitness classes to your digital fitness platform so that clients can access a class if they didn’t have the time to join.
5. Communicate Clearly
Make sure to provide clear communication from promoting your class to following up with clients after the class. When promoting your class, include a clear class description. It should tell your clients exactly what they will be doing and why they will love it. This can easily be done through your social media channels, which is also a good way to expand your reach and boost your brand exposure.
If you’re delivering live stream classes, send instructions to the audience on how to join like their Zoom access code if that’s the platform you’re planning to use. When using a two-way video service like Zoom, remember to mute participants before you start teaching and unmute a few minutes into your fitness class if you’re open to discussion during the fitness class. Before you start, treat your digital fitness class similarly to an in-person one. It’s a good idea to have a welcome chat, remind your clients to modify if necessary and do what they need to do to take care of their bodies.
6. Follow Up After Class
After the fitness class finishes, check to see how your clients found it. This doesn’t (and probably shouldn’t) be while everyone is tuned in to the video. A simple email follow-up is a great touch point to include to your new digital teaching process. Maybe they have some feedback on how to make the next one even better.
7. Have Fun
Finally, the last thing to remember is to have fun. If you’re unfamiliar with the technology, virtual classes can feel a little daunting in the beginning. But, it should still feel fun like a typical class and, just like all things, the more you try it and practice the better it will be. Things will get easier and before you know it, you’ll be running your digital studio like clockwork. Your clients love you, and that’s why they’re watching your fitness videos and joining virtual fitness classes. Stay authentic and true to yourself. You don’t need to be perfect; just bring your passion and have fun with it.